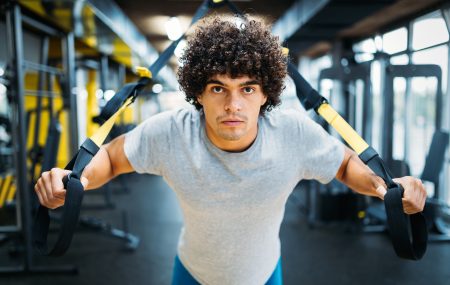


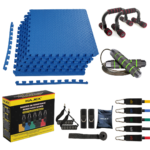


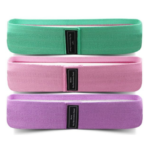

Resistance bands are a very important workout tool. Whether you are exercising at the gym or home, resistance bands can be a great help for you. Above all, it is a budget workout equipment.
Why should you buy them?
Resistance band workout is a great fitness tool to have no matter if you are a beginner, intermediate or advanced in exercise. A workout using resistance bands involves a variety of moves for your entire body.
This type of workout has its focus on endurance, therefore you have to adjust the position of your body and your hands to achieve the most tension out of each move. However, if it feels too easy, you should try using a band with heavier tension so you can take maximum benefit.
There are some other names used for Resistance bands such as therapy bands, loops bands, mini bands. You can call them with any of these names. These bands are available for all the ability levels which makes them highly desirable. Moreover, they are cheap and easy to carry along. Wherever you are, you can have them with you as your full-body workout equipment. Sounds convincing, right?
Let’s discuss some more benefits these bands provide you:
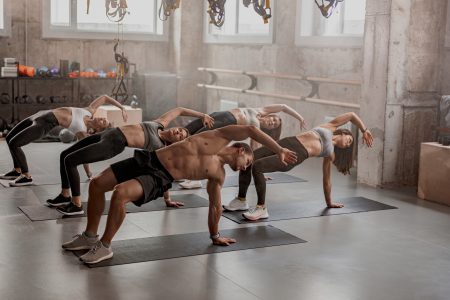
1. Perfect Balance and Stability: To be in the correct form, and to keep the band in line while having a band workout, you have to activate your “stabilizer muscles.” However, don’t get me wrong. Even though the main target is one muscle group, you still have to use your whole body to engage your lower body and core to keep the right balance.
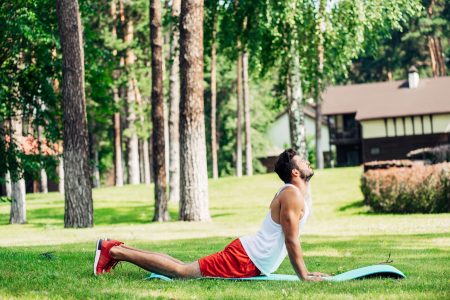
2. Improve Your Mobility: These bands aren’t beneficial only for muscle building. They also increase the flexibility of your body and your joint’s mobility.
3. Minimize Risk of Injuries: Loop band workouts are easier and usually involve low-impact strength training workouts that you can easily do alone without a coach or trainer. As we know weight lifting is the best way to build muscles but it’s a heavy workout and can cause injuries. This is where these bands come to rescue you. Some resistance band exercises are used to recover injured joints and muscles. This is the reason they are called therapy bands.
4. Mix up with Favorite Exercises: Having variety makes your life interesting and the same is the case with workout routines. If you are bored with your favorite exercises, you can try mixing them with mini bands. It will make you feel different while having exercise and your body will also have to workout differently which will be more effective.
Most of the loop band exercises work by utilizing the resistance developed by leaning the band in your hands, around your body, or often below the feet. These positions are dependent on the type of band and the muscle you want to target.
Are you confused about which band workout is best for you? Don’t worry, I am penning down important information below which will enable you to do a resistance band workout confidently.
Full-Body Resistance Band Workout
These are the different exercises you can do with bands. Pick those which you find easy. Note that for each exercise, you have to perform 3 sets containing 15 repetitions and rest for 45 seconds between sets.
Reverse Lunge
1 – Stand with your feet hip-distance apart. Put your right foot at the center of the loop band, grasp the handles located at the edges of the band at your shoulders, keeping your elbows bent.
2 – Keep your weight on the right leg and take a step in reverse with your left foot, dropping your left knee nearly to the floor, while leaning your trunk slightly forward.
3 – Step your left foot again to the starting position while keeping your weight on your right leg. Note that you have to hold the handles at your shoulders throughout.
4 – Do 15 repetitions keeping your right leg, and then switch to your left leg.
Bent-Over Row
1 – Position both of your feet on the band, such that it’s somewhere between shoulder-width and hip-width apart. Bend forward at your waist (bend your knees too), and keep your upper back and lower back flat. To make an “X” of the band, criss-cross the handles when you hold them.
2 – Up to your armpits lift both handles at the same time, keeping your elbows directed behind you. Make sure to squeeze your shoulder blades and upper back muscles and at the top of the movement pause for an additional bonus.
3 – Lower the handles back to a straight arm position, Make sure that your core is engaged and your upper body flat throughout. Repeat!
Reverse Curl
1 – In the middle of the band, with your feet hip-width to shoulder-width apart, stand upright in the middle of the tubing—ensure that there should be a partial bend in your knees. With your hands down near your hip area, hold the handles underhanded.
2 – Up to shoulder height raise the handles, holding your elbows at your sides, similar to the bicep curl. The difference is that your palms should be directed away from you.
3 – To a straight arm position, lower the handles back.
Squat
1 – Stand upright with your feet in the center of the tubing, placed either hip-width or shoulder-width apart. With your elbows bent, hold the handles at your shoulders.
2 – Squat down, while involving your core to maintain your upper back and chest up. Until your lower body makes a 90-degree angle, sit back and bend your knees. Also, ensure that your hands stay in front of you at shoulder-width apart.
3 – To return to the initial position push up through your heels, keeping your back flat throughout.
Hip Raise
1 – Firstly lie on your back and in one handle put your left foot and your right foot in the other. Ensure that your hands should be flat on the floor.
2 – Toward the ceiling, push your feet up, lower your back off the floor and raise your hips, against the floor keeping your hands pressed for balance. To pull yourself up, use your core muscles—do not push with your hands.
Rear Delt Row
1 – With your feet shoulder-width apart, stand in the center of the tubing and remember to bend knees! If that is uneasy, try bringing your feet hip-width apart preferably. To make the bands form an “X” in front of your lower body, criss-cross the handles. Make sure your left hand is holding the handle that appears from under your right foot and vice-versa.
2 – To shoulder height, fly the handles up and outward, staying your back flat.
3 – In front of your left and right knee, lower the handles back to the starting position.
Side Bridge
1 – Put yourself into a side plank position to ensure that your right foot and right hand are helping your body on the floor. Make sure that your left leg is resting on top of your right leg. Also, your right elbow should be directed behind you.
2 – On the floor, fasten the band under the hand. Hold the other handle with your left hand and take it to your right leg or hip.
3 – Across your body, pull the handle and up to the ceiling so that the stretched band is exactly facing your chest. After this, gradually lower the handle back to its initial position.
4 – Before switching to the other side, complete all reps on one side.
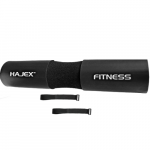
Start your Full Body Workout From Today With HAJEX Premium Quality Resistance Bands.